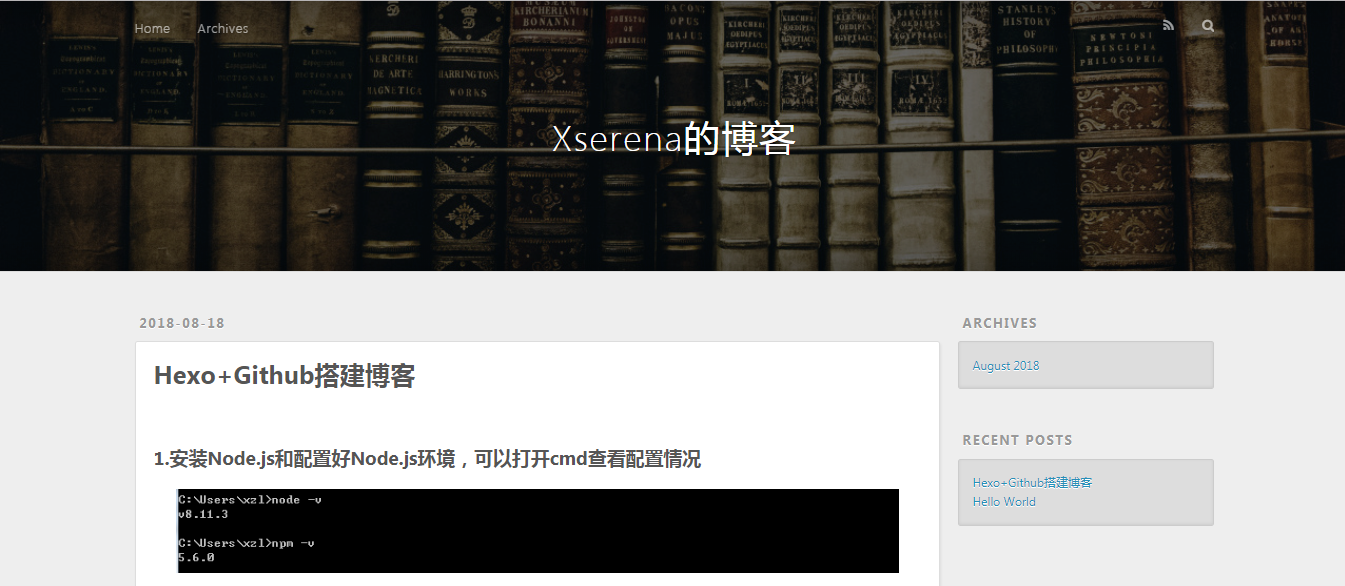
1.安装Node.js和配置好Node.js环境,可以打开cmd查看配置情况

2.安装hexo
(1)新建一个文件夹,取名为:hexo
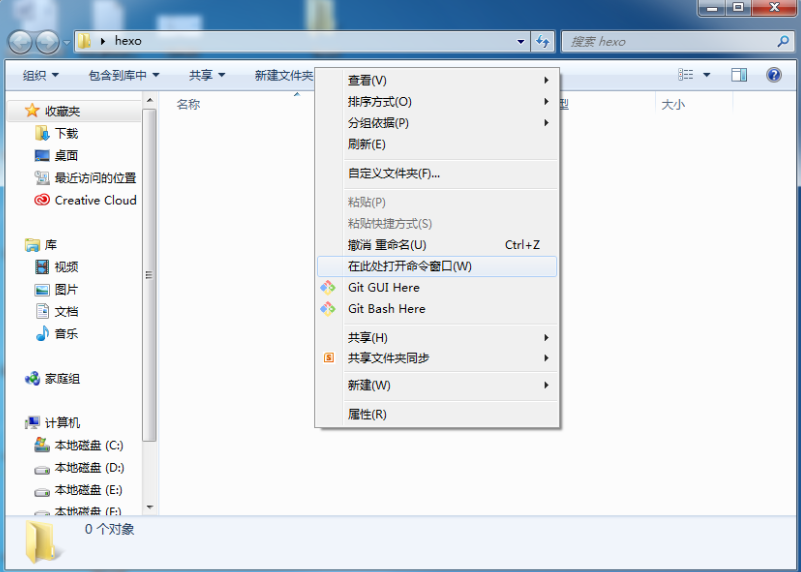
(2)打开hexo文件夹,按住shift+右键:选择“在此处打开命令窗口”
(3)在命令窗口输入cnpm install hexo -g

在命令窗口输入hexo -v,检查hexo是否安装成功

(4)在命令窗口输入hexo init,初始化该文件夹

初始化成功后显示如下

(5)在命令窗口输入cnpm install,安装所需要的组件

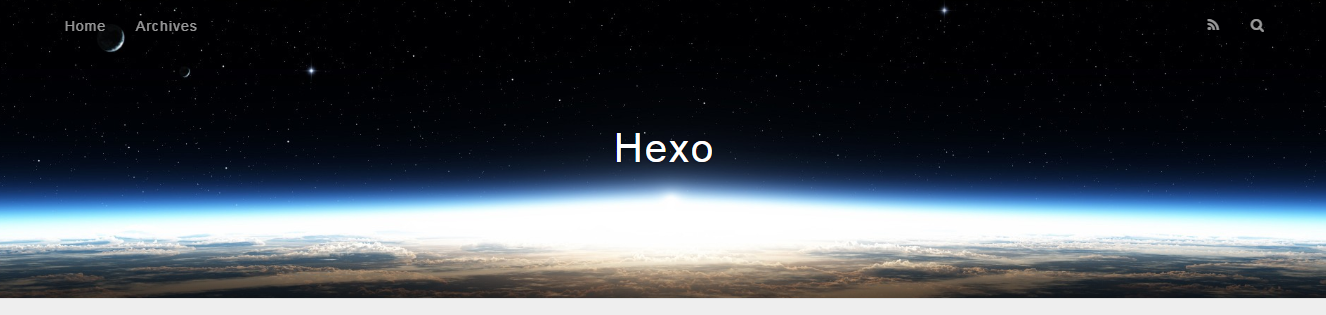
(6)在命令窗口输入hexo g,首次体验Hexo
3.简单配置自己的博客页面
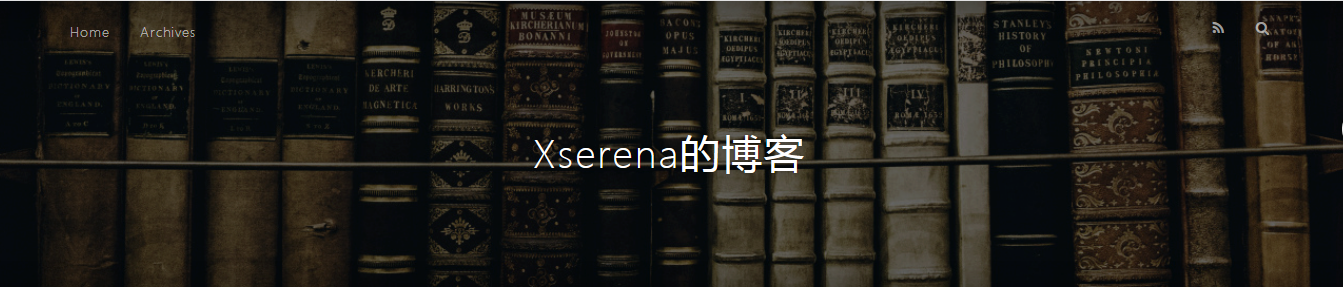
(1)打开根目录中的_config.yml,修改title和author

(2)将themes中的banner.jpg改成自己想要的图片
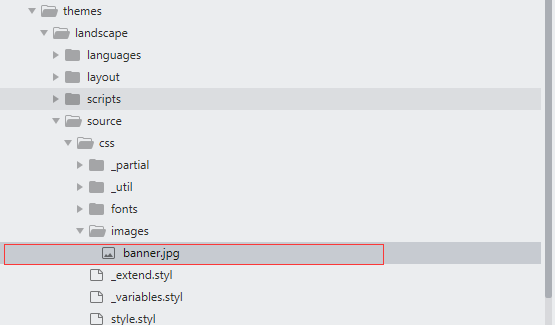
刷新网页,出现如下页面
(3)新建一篇博客:在命令窗口输入:hexo new post “博客名”,比如

这时生成test.md和一个名为test的文件(这个文件我就放一些属于test.md的图片资源)
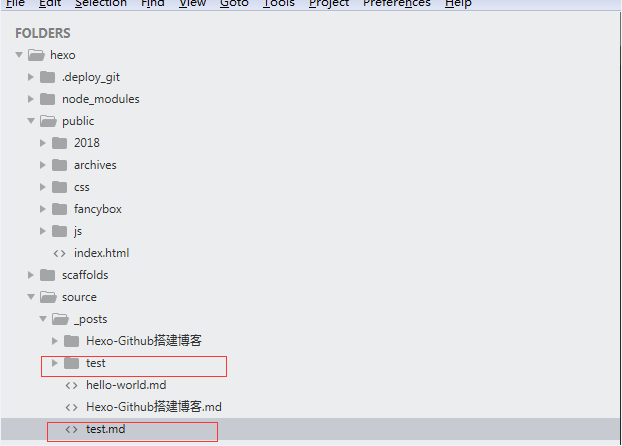
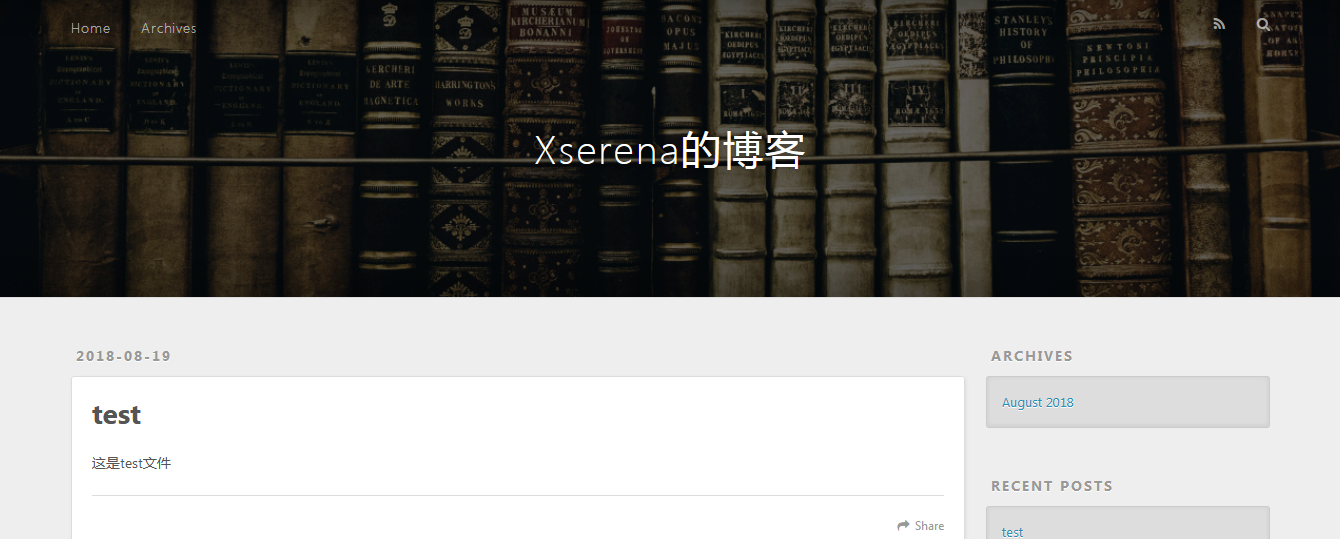
打开生成的test.md文件,就可以写博客啦

刷新页面
4.上传到github
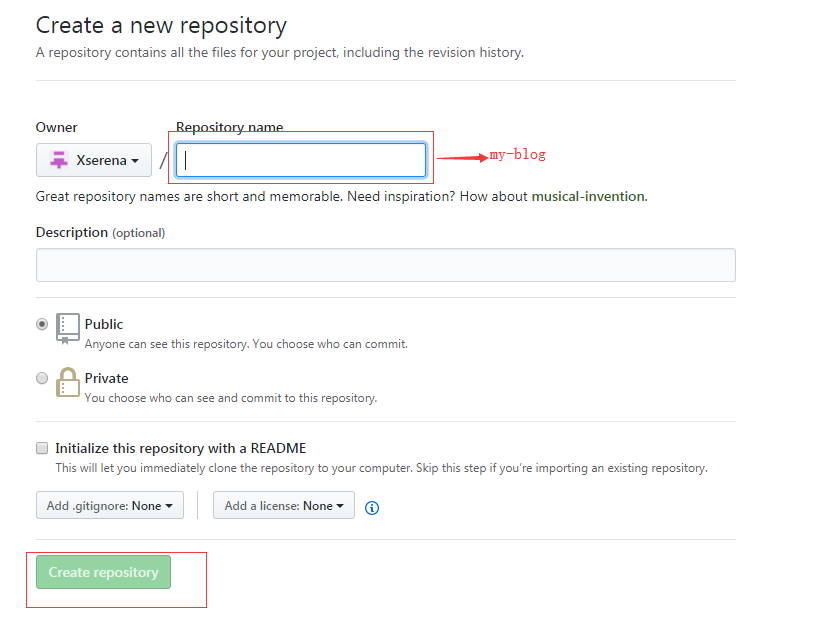
(1)注册一个github账号并安装Git,此处省略xx字
(2)创建一个仓库,取名为:my-blog

获取url

修改_config.yml文件

在命令窗口输入hexo g,生成静态文件,此时会多一个public文件
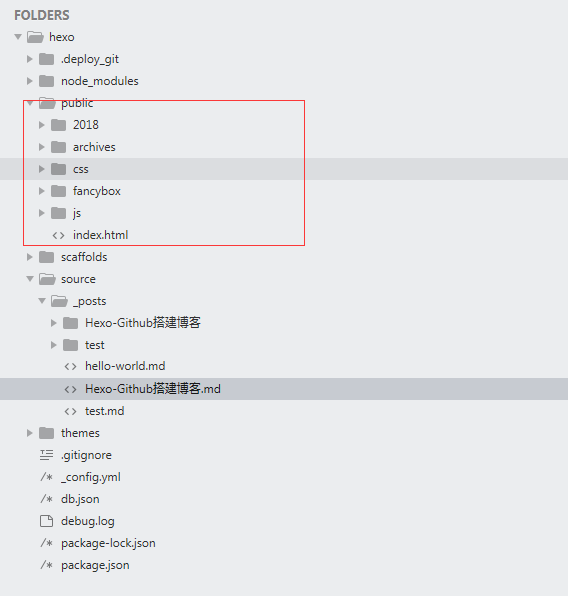
如果想要删除public文件,就在在命令窗口输入hexo clean
在命令窗口输入hexo s;hexo d 此时就将博客上传到github上了。
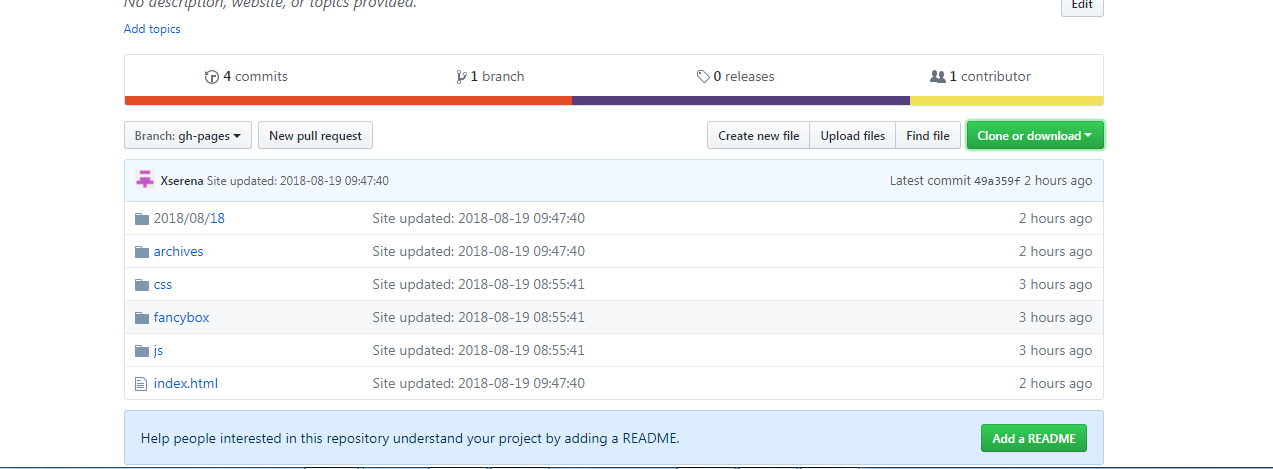
进入Settings页面,往下翻找,进入GitHub Pages板块生成的url,此时终于在github上生成一个成品了,小编脸上又多了好些痘痘…


美么?